How-To Paint Mountains
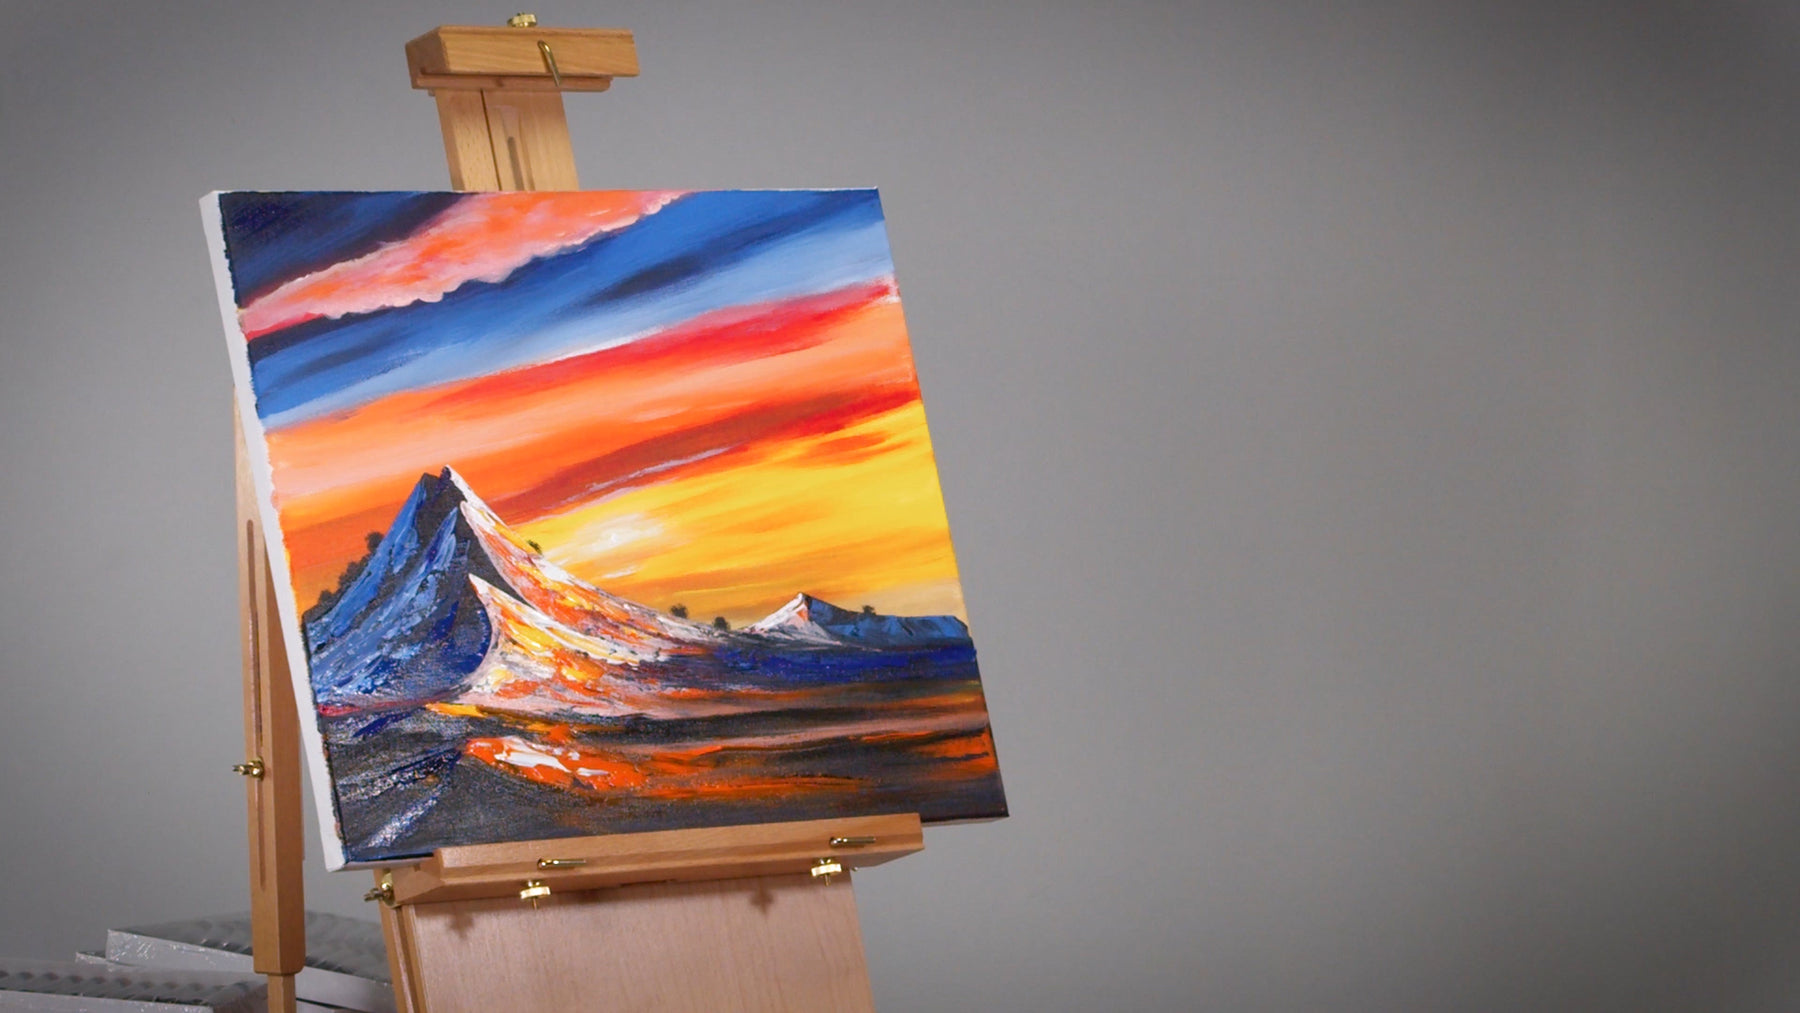
Today, I will be creating a very colorful landscape painting with a sunset pouring over some mountains. Painting with acrylic paint is so easy and fun to do at any level of artistic skill. So, let’s get to it!
What You'll Need
Acrylic Paint
- Bright Yellow
- Orange
- Pink
- Brown
- Red
- Ultramarine Blue
- Purple
- Light Blue
- Dark Blue
- Dark Umber
- White
Other Supplies
- Standing Easel
- Stretched Canvas
- Bristol Hair Brush
- Palette Knife

Step 1: Begin with Yellow
To begin, I start with the bright yellow and I apply it around half way down on my canvas. I make my strokes from left to right; representing the horizon.

Step 2: Adding Orange
Now, I move onto the Orange in the sky as I want this sunset to contain lots of Orange. I add the Orange, while the Yellow is still wet so I can blend the two.

Step 3: Blend in Pink
Now, without washing your brush, add in the Pink above the Orange. Let that blend right on down into the Orange. Your sunset is already starting to look really colorful.

Step 4: Continue Blending
As I continue through my sunset color list, I use each new color, wet on wet. It is easier to blend together this way. Here, I add a little dash of red to the Orange and Pink. Be careful not to add too much red as this is a very dominant color.

Step 5: Red Stripe
Here, I add a nice thick stripe of Red across the sky. Notice how I am painting at an angle, starting from the middle left and working up towards the right top corner. This is a fun thing to do to your sky to add some dimension.

Step 6: Add Ultramarine Blue
While the red is still wet, I can add my Ultramarine Blue and blend these two together where they met on the canvas. This should give you a little Purple in your sky.

Step 7: Fill with Light Blue
Now, I am using a light Blue to fill in the area below the red stripe and blend in the previous blue. If I use the color that is closest to the previous, I won’t have to wash the brush and this works in my advantage.

Step 8: Shape Mountains
Using my palette knife and a mixture of dark Blue and Dark Umber, I chop out the base color of my peak. I would like a small pointed peak rather than a huge mountain however, you can make whatever kind of peak you want.

Step 9: Mountain Highlight
Next, I load the knife with the same light Blue from the sky and create highlights on the left side of the mountain. This is so that the peak is reflecting the colors in the sky.

Step 10: Reflecting the Sky
I add some darkness to the sky, while I still have the dark Blue in my brush.

Step 11: Mountain Ground
Now, for the ground, I want to reflect some of the colors of the sky. So, I use some of the same colors to fill in the ground but.

Step 12: Right Side Peak
I am loading up the palette knife with the same pink from our sky and I am adding to the right side of the peak. Notice that this is where the sun in the sky is and it will be reflecting on this side of the peak.

Step 13: Right Peak Detailing
I do follow through and add some of each of the colors I added in the sky, onto the right side of the peak. This way I am able to tie in the sky with the land.

Step 14: Final Touches
Finally, after painting in the white paint highlights for the tips of the peaks, I am able to add some final little touches of color the foreground. Blue on the left and bright oranges on the right. It is all looking finished now!

Step 15: Finished
This is a very colorful painting and I knew that all of the colors would all tie in together if we just kept the colors consistent.

Thanks for creating with me today and join us again for another fun US Art Supply tutorial.